TL:DR; A chicken coop was built to replace an existing one. The new one was made from recycled pallets. This had to be done in time for the local Council curbside rubbish collection, which had been booked two months before.
The Build
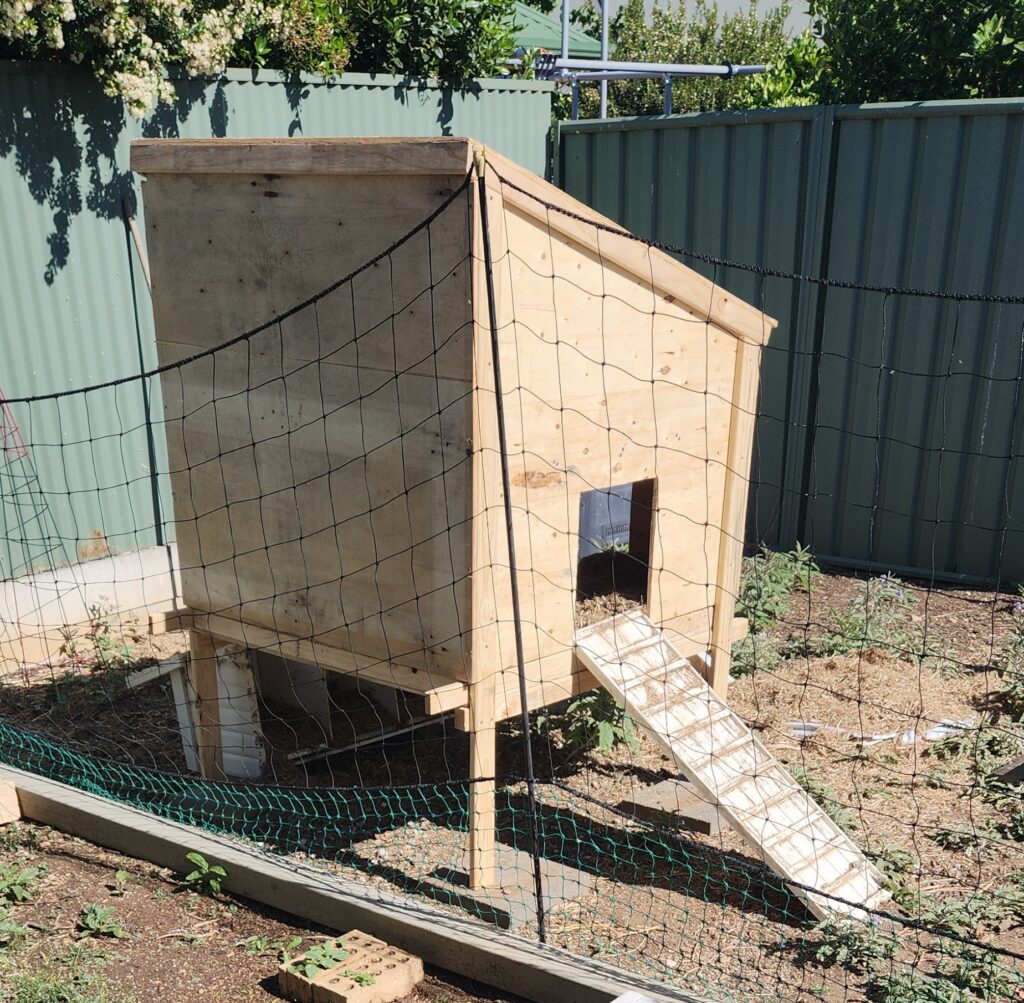
On 18 November 2024 I was able to complete the construction, less a couple of features, of the Super Chook House Mk 2.
The original Super Chook House had been purchased online sometime in 2018. I don’t recall all the details, but it came flat packed and in all probability been make somewhere oversees. It was made in a light wood, probably western red cedar, and looked like a small cottage including a chimney. It still needed to be painted, which caused a two year delay, given all the other things going on, before it was able to host our first flock. (More details in in the link above.)
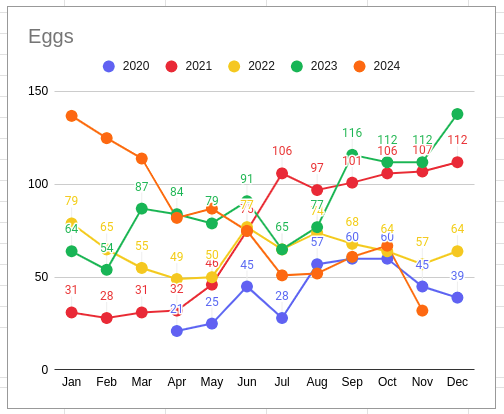
Egg production began in April 2020.
The chickens have been a great edition to the family and have been both a great source of eggs and entertainment. They have somehow managed to avoid “sanctions” as one needs to be ever vigilant, as the little dinosaurs will, without hesitation, exploit any gaps in the fencing to raid unprotected vegetables in the garden. It is a fair trade.
It has been four and a half years, and the painting didn’t really work everywhere. The roof had rotted out on one edge, but it all came to a head when the floor fell out. A new chicken coop was required. The Super Chook House Mk2 project was hatched but was there a alternative, a better option, to the previous version? I don’t know how long it would take to fix, but I don’t think the chickens would be able to cope with another two year delay. I’m sure they would, after all they’re chickens, but it certainly wouldn’t be the best solution, and this was an opportunity to try something different.
There were parts of the original coop that could be reused. The original kit came with an enclosed cage, which was meant to be bolted onto the side. Due to the painting, which was never completed for this part, this feature never got added. Instead, the mesh panels ended up being used for vegetable protection technology, protecting them from the chooks and other raiding avians. I’m looking at you, blackbirds!
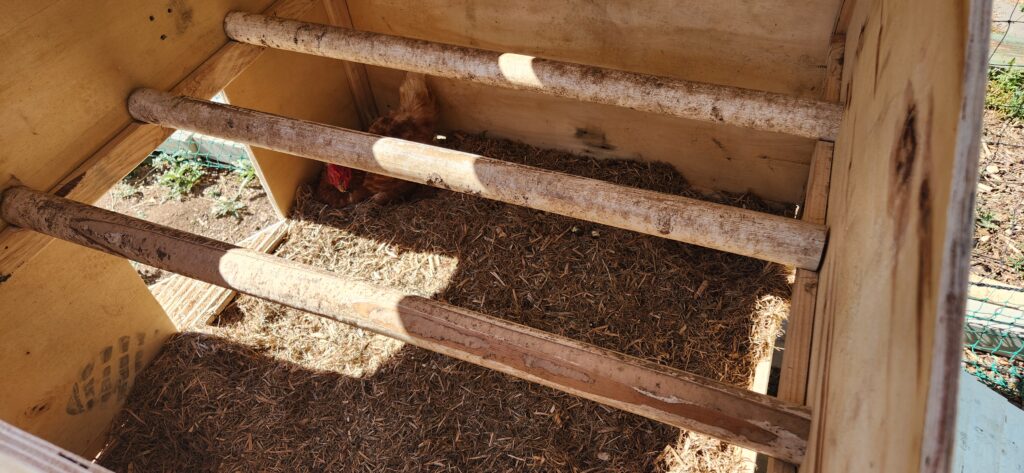
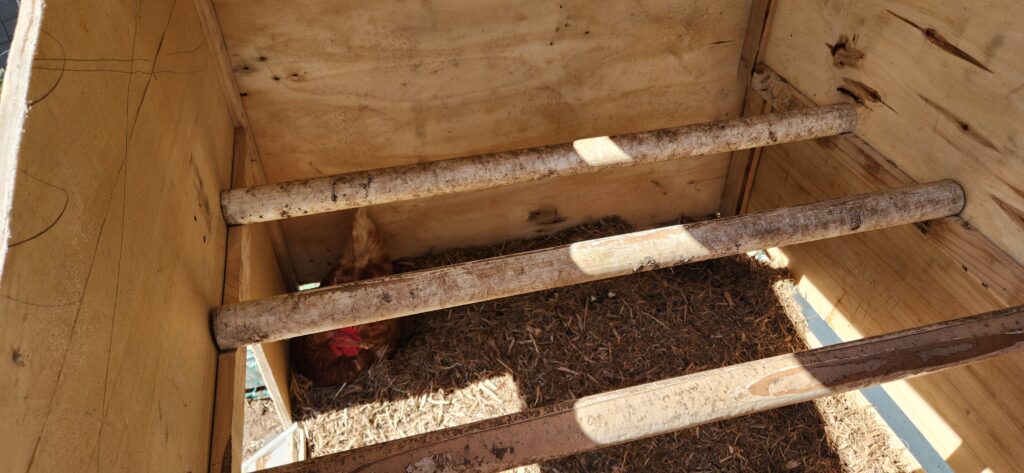
Other reusable parts included: the large metal tray in the base of the coop (although this has been found to have rusted through, so an alternative is required); the nesting boxes, with their own tray inserts; the ramps into the coop; and the roosting rails.
The Design
A local council curbside rubbish collection was booked, so the clock was now ticking. Two months to go.
Design work began, on and off, in the evenings in front of the TV (old school).
The plan was always to try and make use of recycled wood from Born Again Pallets. This Adelaide business breaks up and sells the materials from wooden pallets (it’s in the name) but I have also seen this material used in other community projects (Video: Microbat Nesting Box Workshop). Bunnings had blog posts of similar chicken coop projects using recycled timber (Chicken Coop, Nesting Boxes). I won’t pretend that I have the skill of these master wood workers, but I have a jigsaw, so how hard can it be? I don’t think I will need the router for this project.
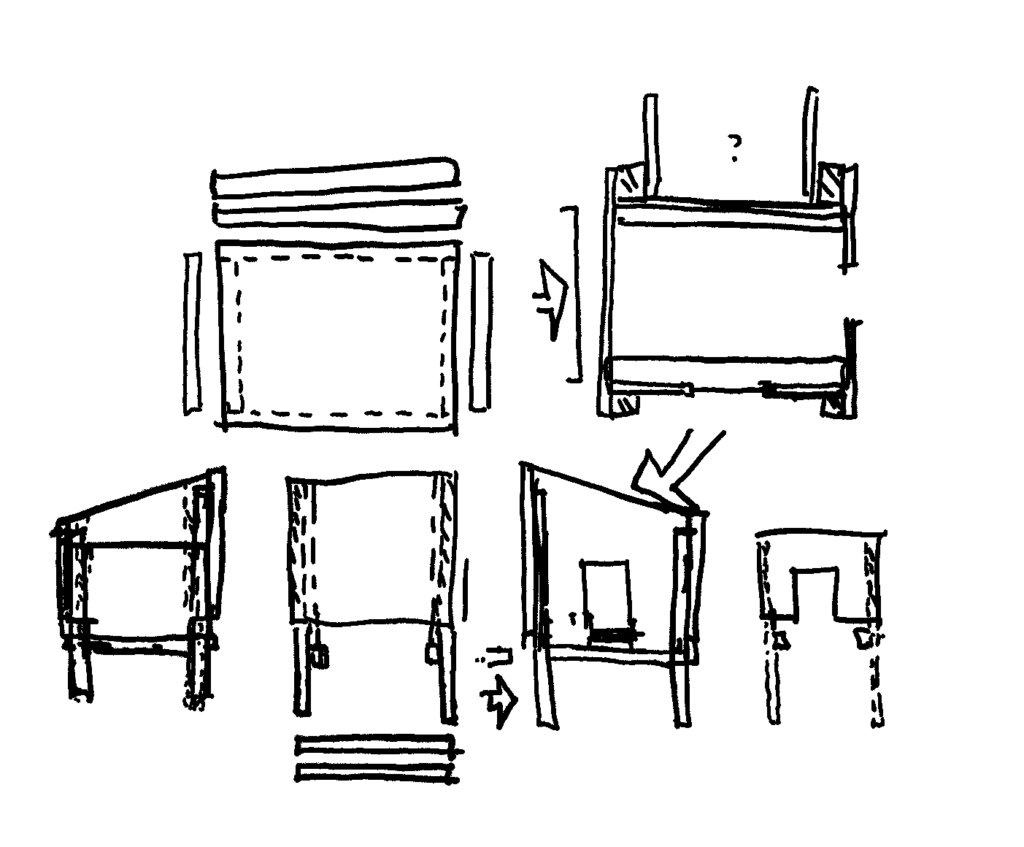
The design went through several iterations. where the plan was to provide a chicken coop similar to what I had (size, features) but made as simply and easy as possible, made out of material which would hopefully last a little bit longer.
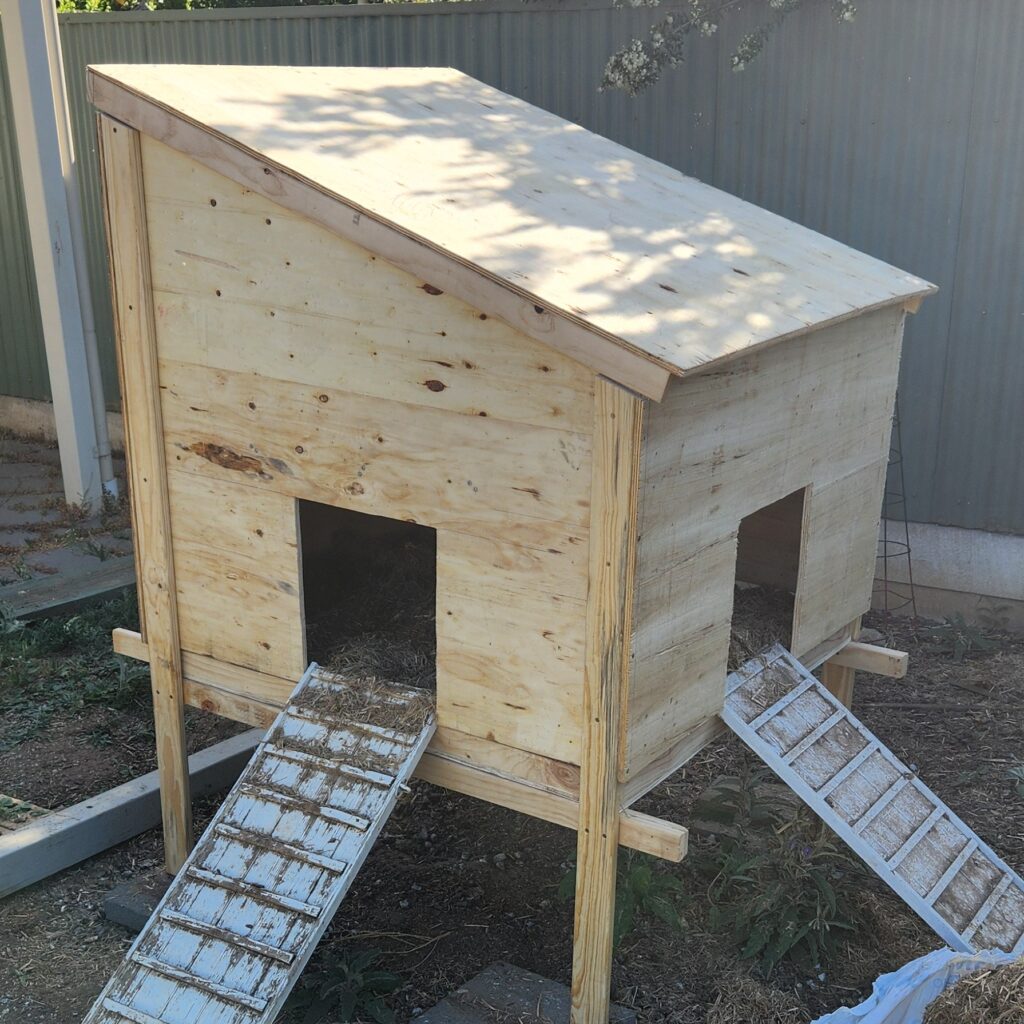
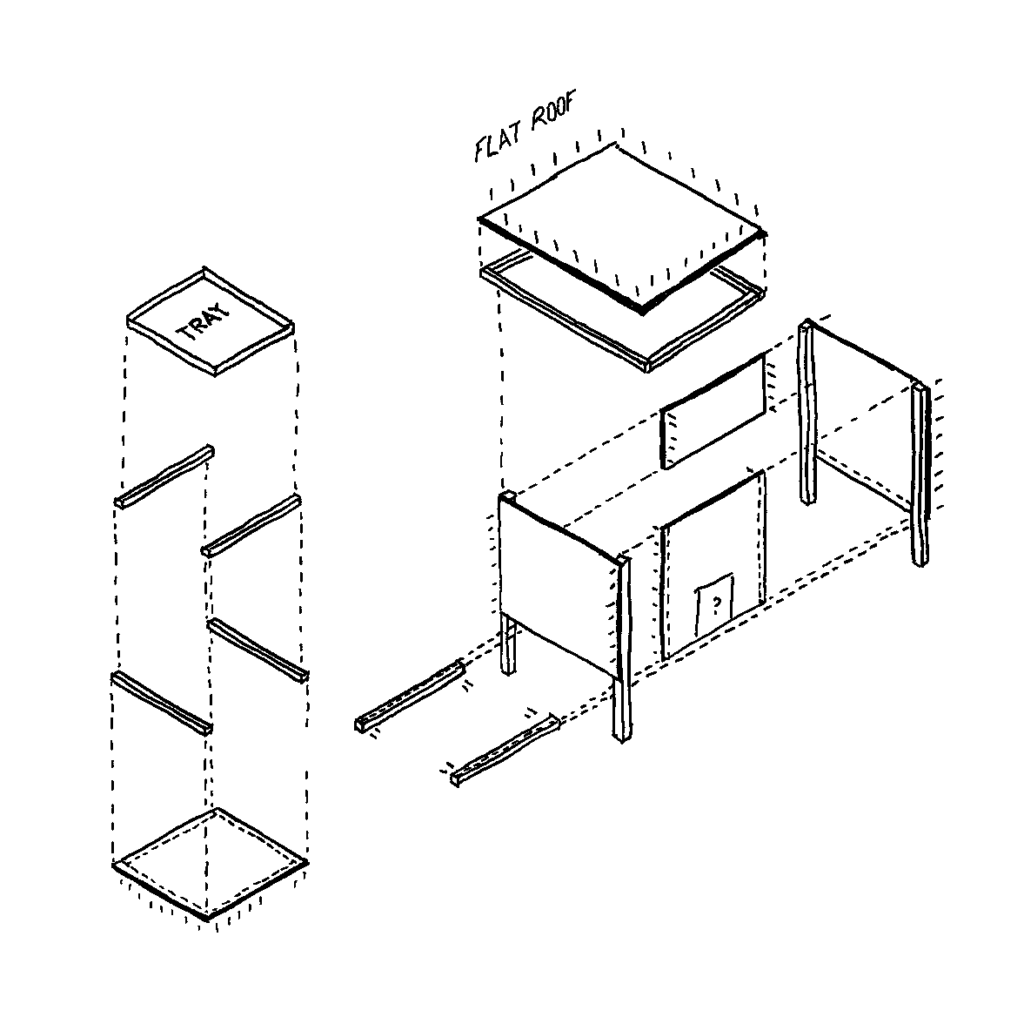
In the end, the plan needed 6 sheets of plywood, for the sides, floor and roof, 4 posts for the legs, and additional batterns for edging the floor tray and the roof. The size was based around the existing metal floor tray, with other measurements taken from the existing coop. Leg height (500mm), Nesting Box height (350mm) and Doors (350x300mm). The height was taken as the maximum size allowed by the plywood sheets, and the roof pitch was chosen to be about 30 degrees.
The calculation of the maximum possible roof angle, given the size of a plywood sheet, was outsourced to the family’s year 11 student, who made use of their trigonometry knowledge to confirm that this was possible.
Part of the larger plan is to also mount a solar panel on the roof to power some sensors etc. so the the coop was to be orientated with the slope of the roof facing north.
Getting the wood
With a design in mind, it was off to Born Again Pallets so see what material they had. Time had also run out. This shopping trip was on a Friday, and the Council rubbish collection was booked for the next Tuesday, so everything was going to be done have to be done in one weekend.
It was a successful trip. Even though some compromises were made, all the required materials were purchased, including a packet of screws.
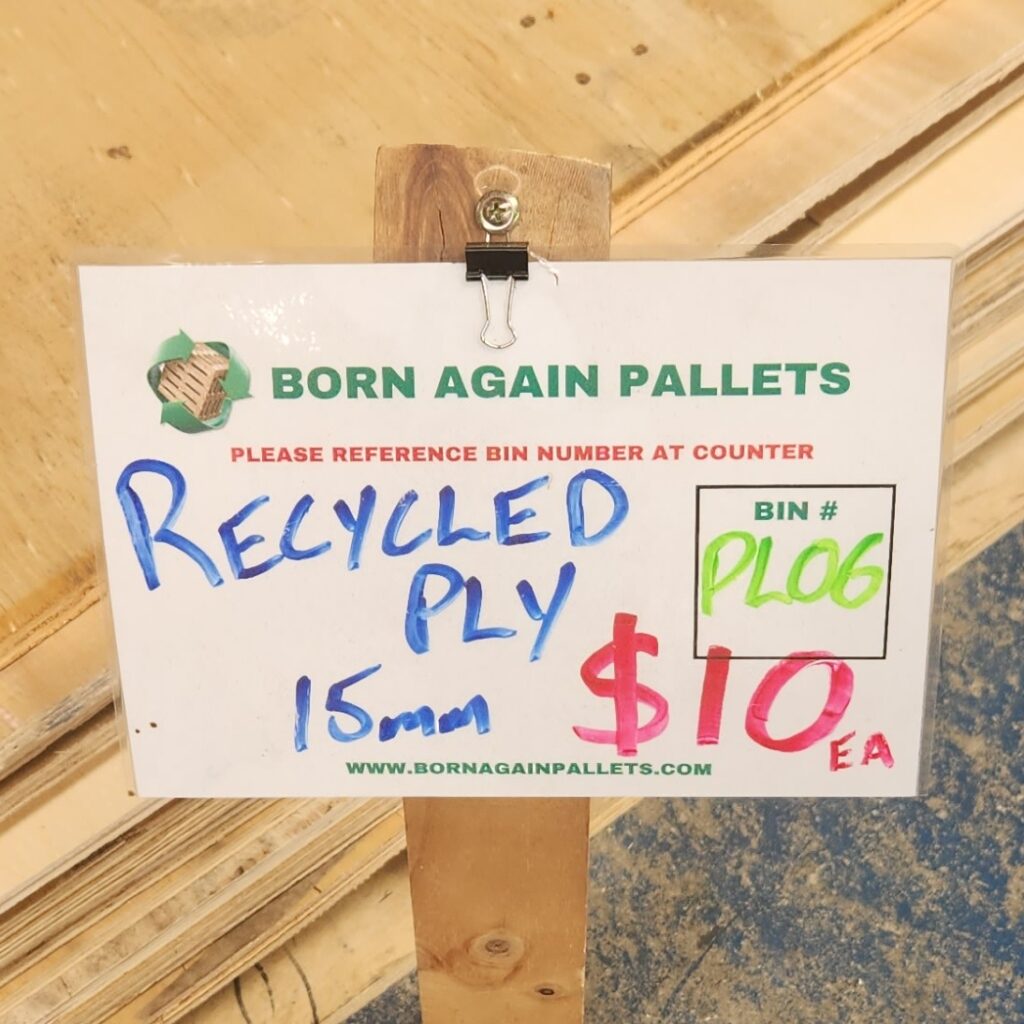
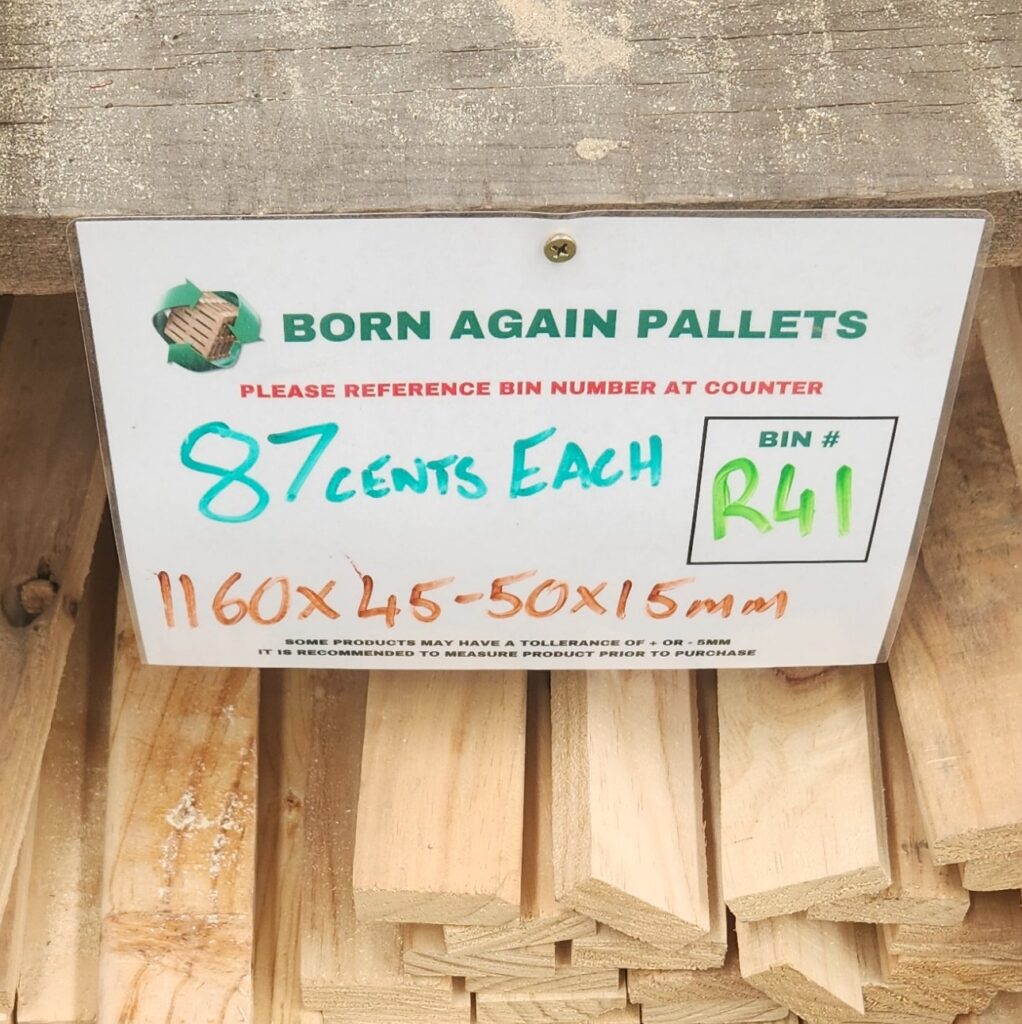
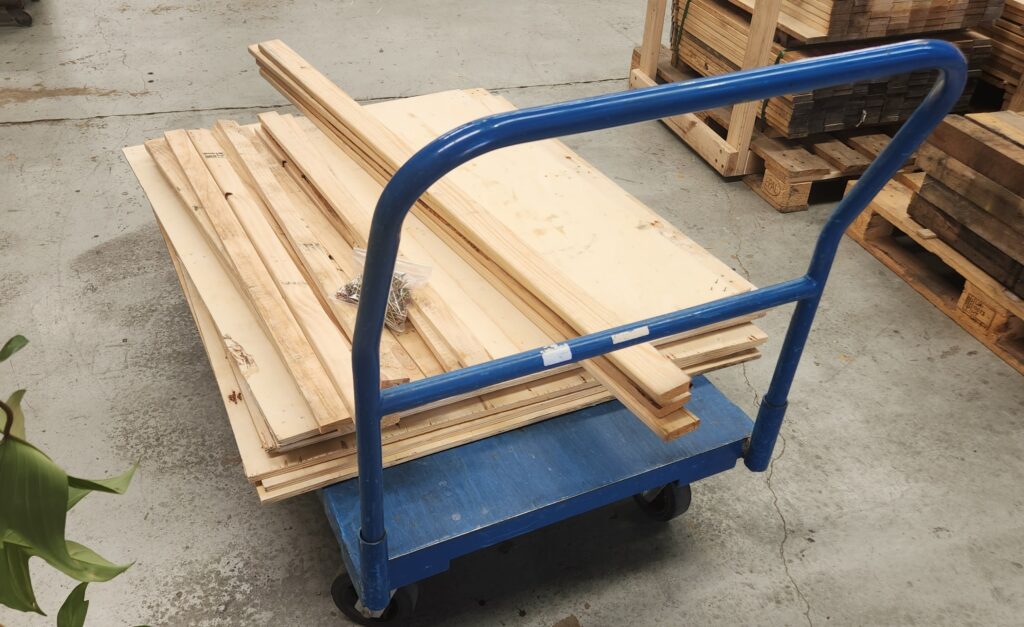
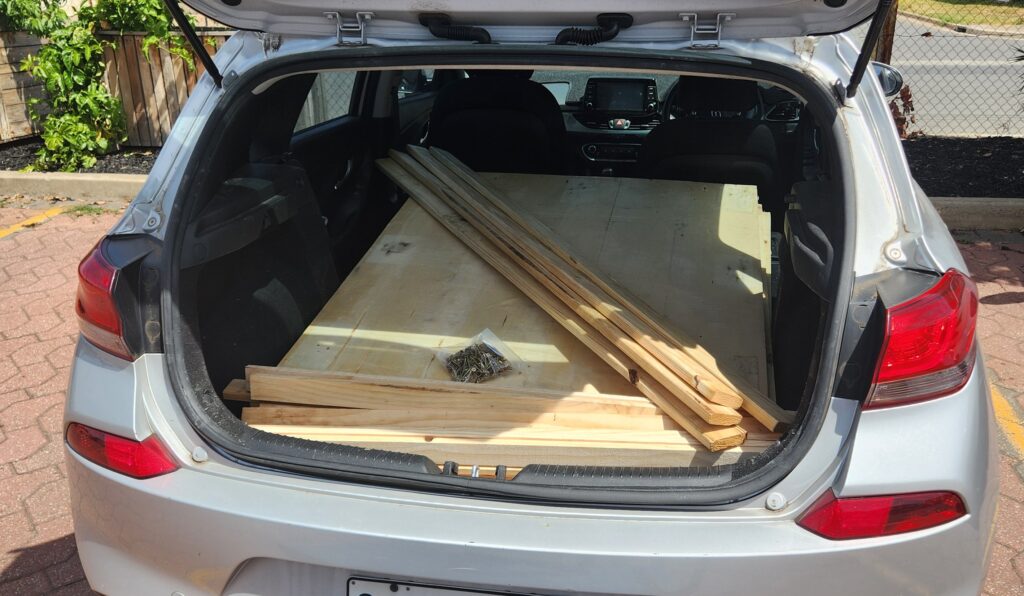
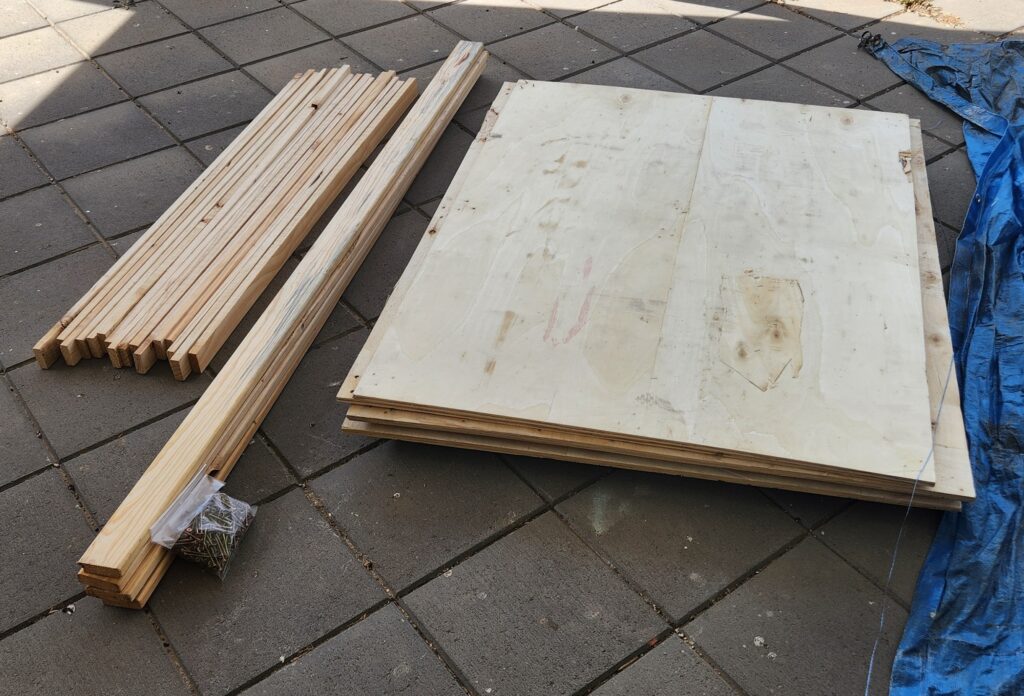
A trip to Bunnings was also made to pickup some timber oil, which was applied to the plywood. It was hoped that this will allow the wood to last a little bit longer and it also included some anti-bacterial properties. We will see how this goes.
Construction
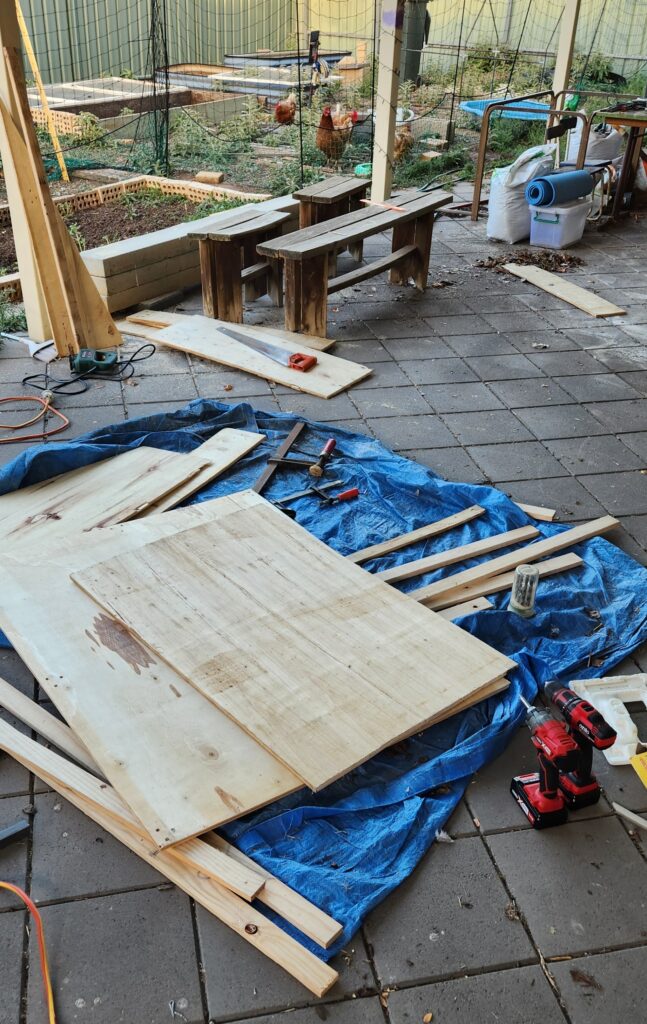
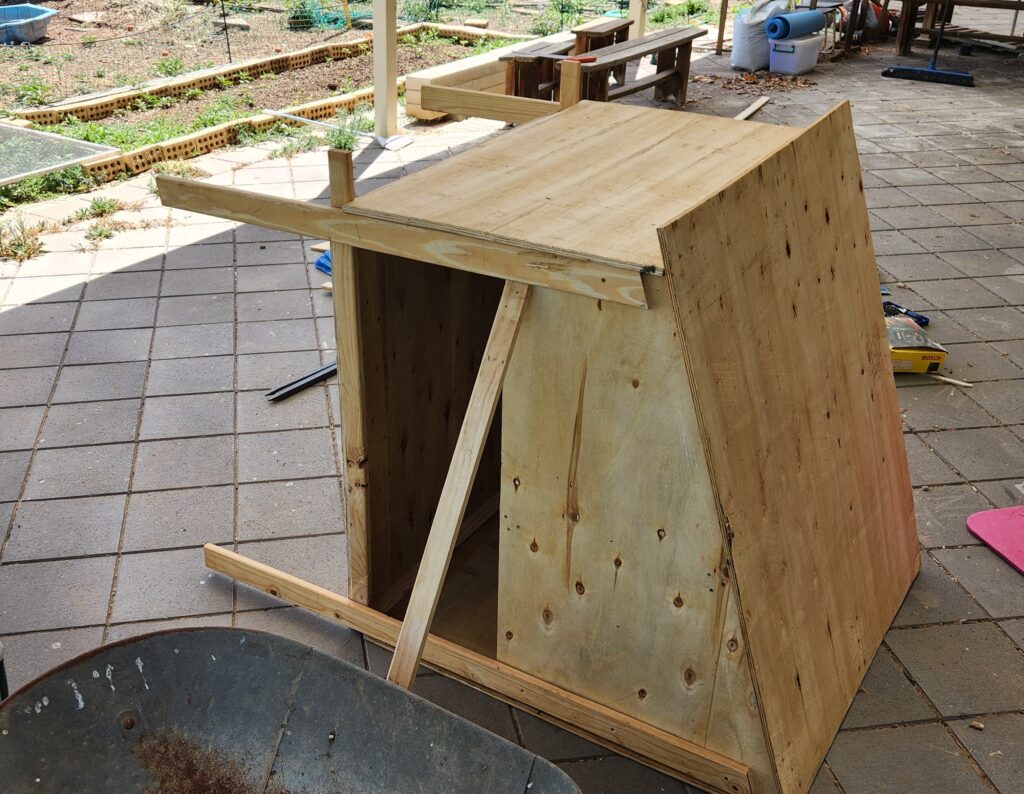
So, over a couple of intense days, and with some help from some interstate visitors (thank you Tim!), the new coop was constructed.
It was very much a fit as you go type of project. As mentioned, the design was based around the size of the metal tray floor of the previous coop. A drawer for this was constructed, and then the walls and roof were then added to fit around this. Pieces were tacked together to confirm the fit, before completely fixing everything in place. The previous roosting rails were also mounted inside.
It has all come together, a lot better than I had hoped.
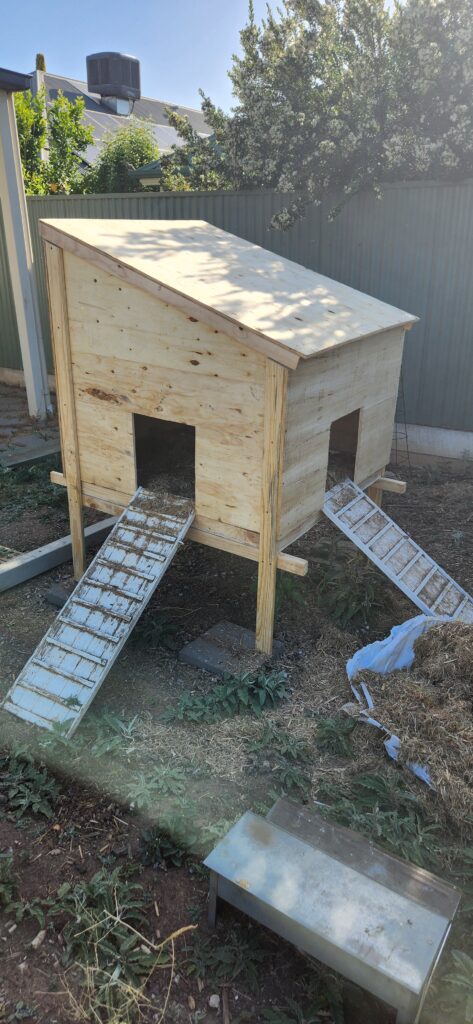
So, in the evening before the council curbside pickup, the old coop was hauled out to the curb. It was replaced with the new one, reusing the existing ramps, and with some sugercane mulch was all ready for use.
Some Final Comments
The design was found to be fairly robust. The long freehand jigsaw cuts, which didn’t make for the straightest of edges, didn’t compromise the final outcome. The floor slides easily out for cleaning, and the coop is now also accessible from the top as the roof lifts off.
The old nesting boxes still need to be attached to the side (using the original bolts). If more access is required, an access panel could be added to the large wall.
The chickens appeared to have enjoyed their first night in the new digs. I didn’t hear any complaints. See the images below, where ‘Pants’ is making use of the new facilities.
