Category Archives: Project

Code for Cosmic Array Sensor Project

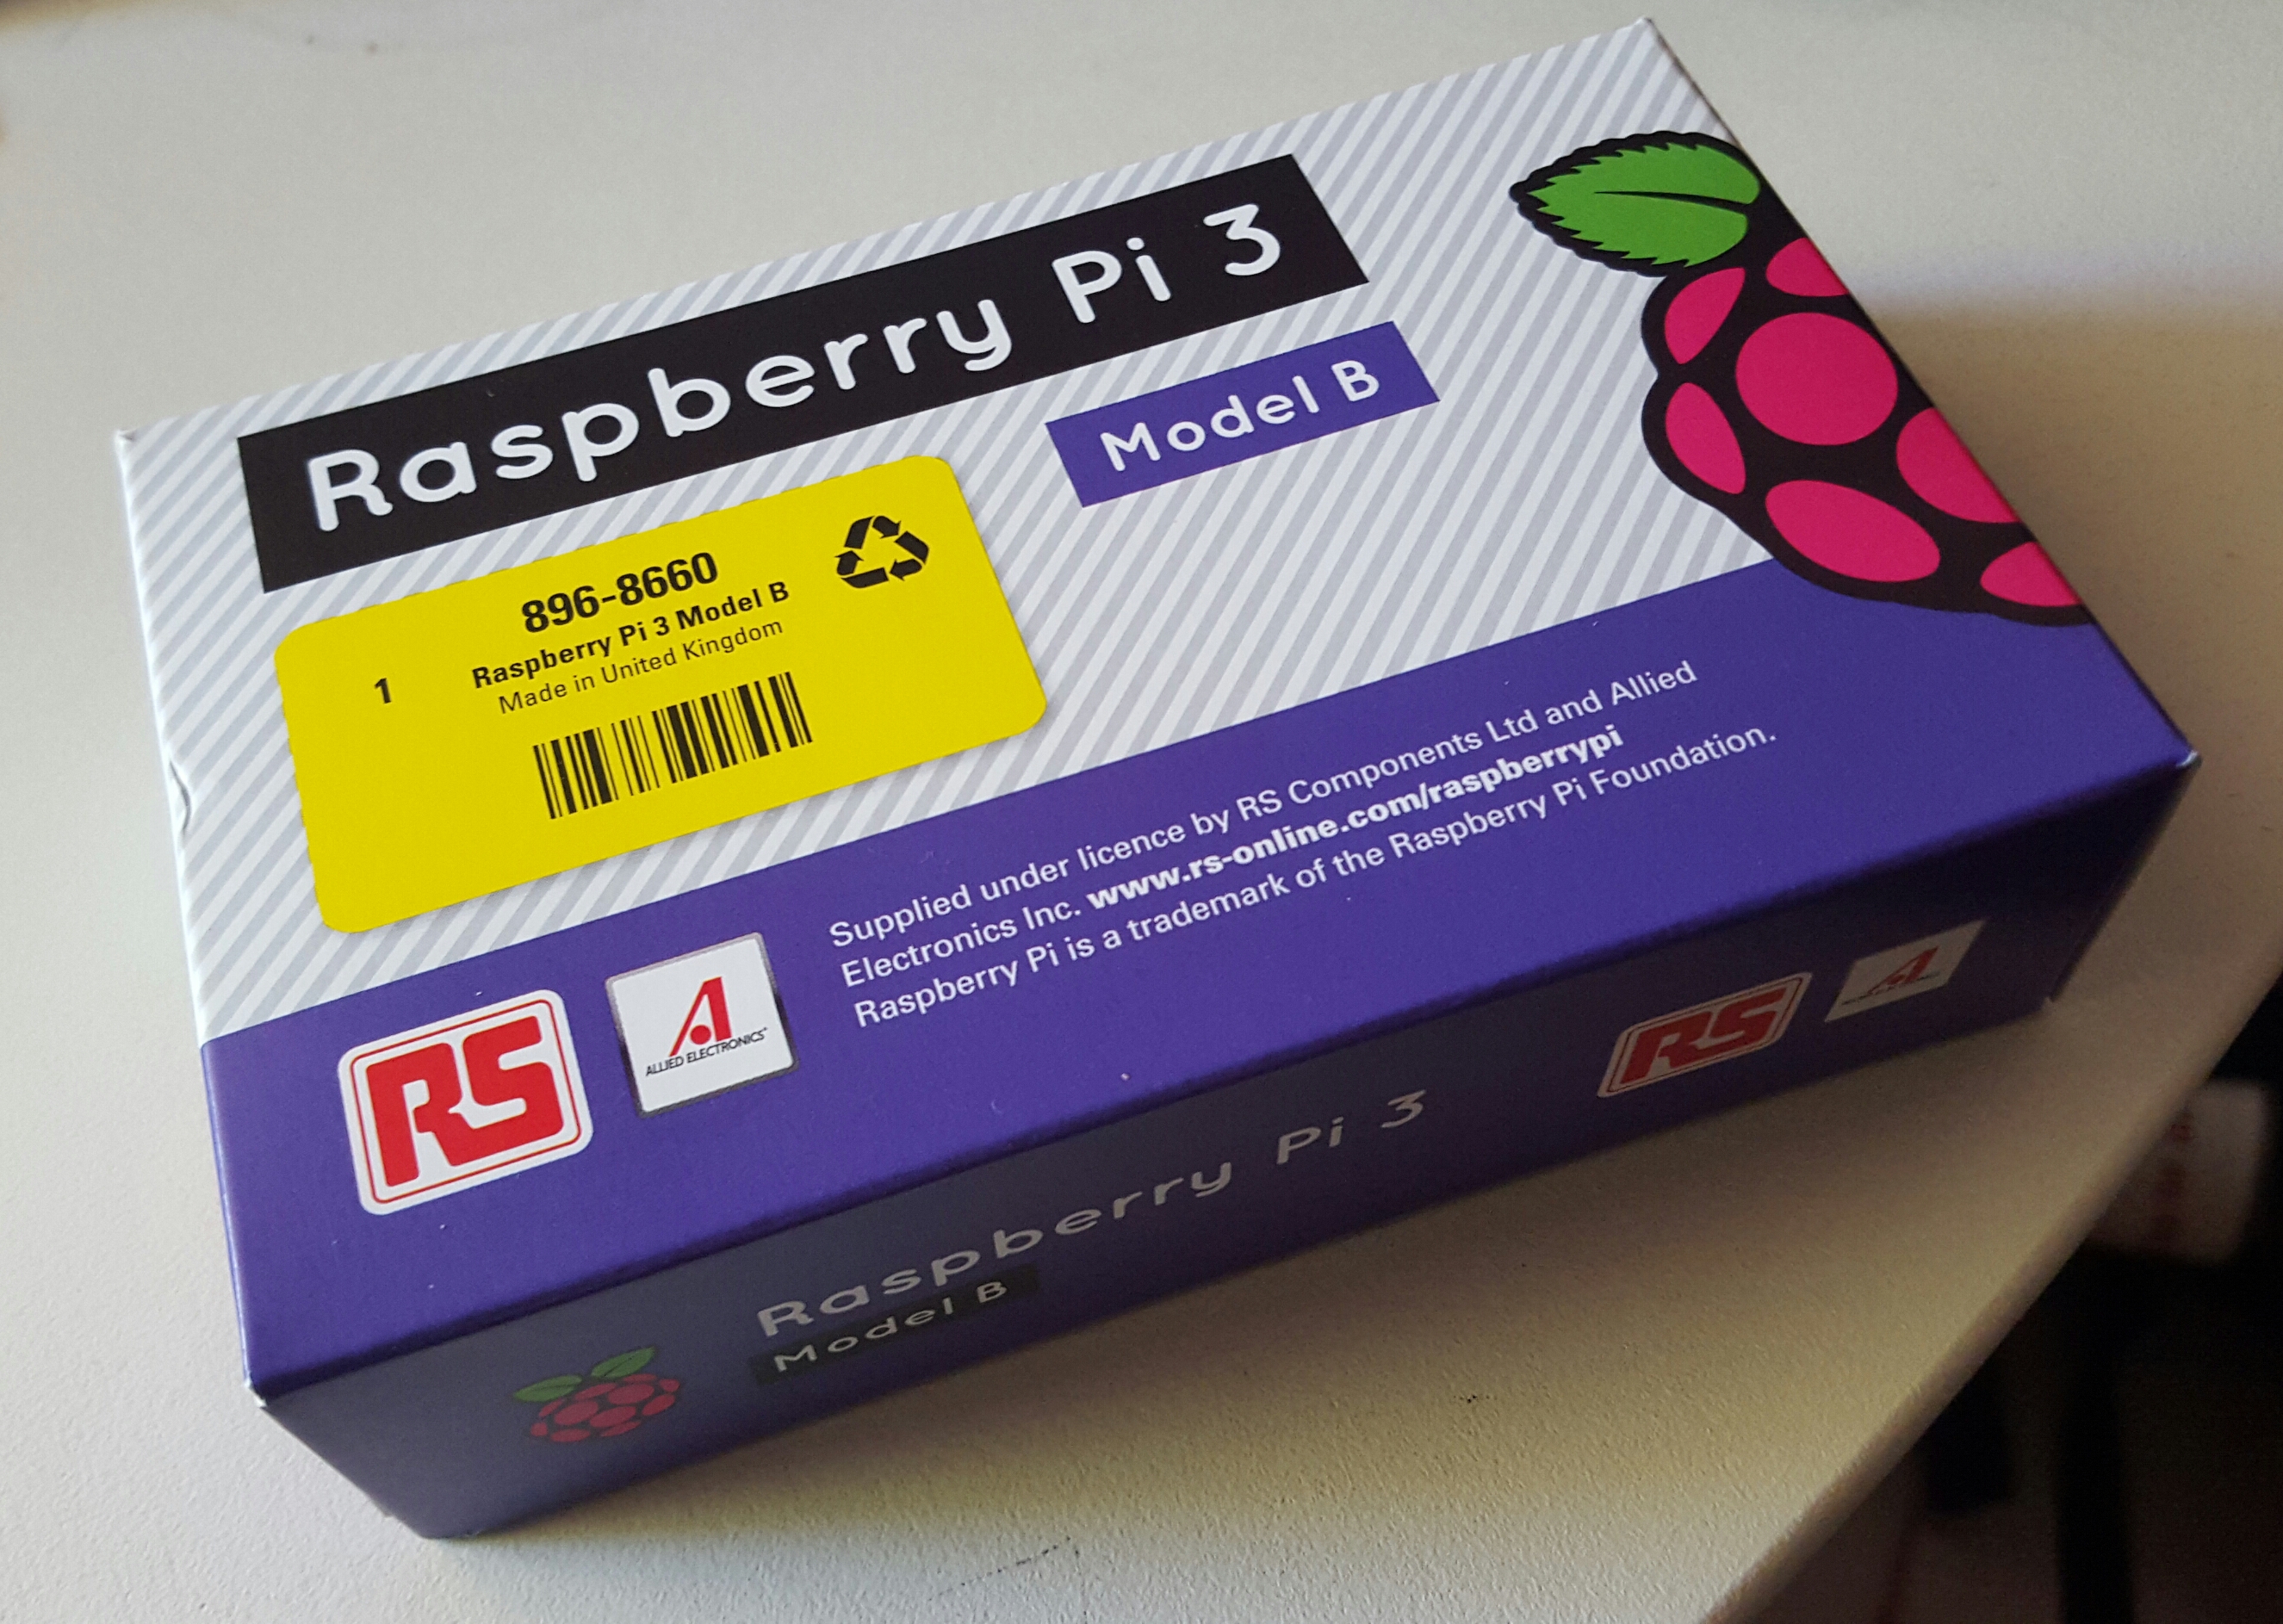
A recent project has been pulling together some code for a Raspberry Pi Zero, which is going to be part of the system in the a Cosmic Ray Sensor. Details about the The Cosmic Array project, which is part of the Splash Adelaide Winter Festival are available from the Hackaday Website.

The Raspberry Pi takes events from the sensor and plays chimes depending on the direction that the detected muons appear to come from (via a coincidence circuit).

Adelaide Internet of Things (IoT) Hackathon

Yesterday (Sat, 23 April 2016) saw the first Adelaide IoT Hackathon held at the Smart City Studio in the City of Adelaide.

This author is very please to announce that we were successful and won the event with our project: City wide water leakage monitoring. We were us against the 10 Cent – Internet of trash and an Interactive Electronic Notice Board. The decision was very tough according to the judges.

The prizes include access to IBM’s IoT and Cloud platforms. We will be updating the Hackaday page above with more details as we progress with the project.

Edison Robots

I have just been introduced to the Edison Robots.  I was shown a box of them that are going to be used to teach programming(coding) and robotics in a local primary school. They looked vaguely familiar.

The company behind the Edison is Microbric and they have been around for a while. They concluded an Kickstarter campaign in 2014, raising over $100,000. Somehow I missed this campaign at the time, but they managed to raise enough to create a ‘block based’ programming environment for the robots what will run in a browser, Windows, iOS, Android and Linux (including on the Raspberry Pi).

I had to delve a little deeper on the programming side though. I had dealt with the original Microbric robots, which could have a programming cable attached, but weren’t really programmable. They came with some pre-programmed actions, like ‘follow the line’, as well as playing the theme songs of the local AFL Football teams. The way these programs were selected was also novel. They could be made to run over and read a barcode which was read by a light sensor. It was also possible to hold them up to a computer screen, but this was a little bit unreliable. A the time I tried to manually decode the barcodes, but without success. There was a programming cable available (based on a Nokia phone cable) but it’s use was unsupported at the time I was looking at it. I don’t know if this ever changed.

On the other hand, programming the Edison with the Edware software is a great addition and a great introduction to robotic programming for students. The software is Python based under the hood, is available under a Free and Open Source license (GPLv2) and is available on Github.

Some things I would like to try with the Edison:

  • Attach a pen and get the robot to write a message, or draw a picture.
  • Build a robot arm that can move chess pieces.

One interesting application can be found here: Chocolate Rotomolding Machine (YouTube).

The MeetEdison website recommends the following Lego Kit – 42032 Compact Tracked Loader – as a good way of getting parts useful for building more advanced robots and machines. Details are in the EdBook3.


Oliphant Science Awards – 2016

It’s that time of year again, where I’m about to get involved again in the Oliphant Science group at the primary school attended by my daughter. We have a really great group of young scientists this year, and they have been sent away for the holidays, inspired to think about what great science they can do when they get back for term 2.

This year, for progress reports and logs are going to be making use of Google Docs. This should allow those of us who are Parent Helpers to better observe the progress that is being made, and see be able to provide better help.

It’s going to be a great year for Science.

Project: Implementation of an OpenADR Infrustructure with RaspberryPi(s)

A demonstration system is being built for prototyping the OpenADR system using accessible hardware.

This is a new project fo me, but I have an interest in learning more about how the Electrical Power network works as we have a Grid Connected Solar installation(SMA Sunny Inverter with Blue Tooth interface), and a Clipsal C-Bus home lighting/power control system in the house.

OpenADR (Open Automatic Demand Response) is a project with the aim of creating an open infrustructure to allow the consumer appliances in power networks to automatically respond to the market,
including pricing details and peak power periods.

In Australia, grid connected household solar systems are currently subjected to different mechanisms which impact on their final economic benefit. As well as overall cost, these include ongoing feed-in tarrif rates or restrictions on feed-in power. Add to this the ability to add local power storage via batteries (eg. Tesla Powerwall[2])  and it becomes more essential to control the local power sources and loads.

Standards exists[3] for controlling appliances, and DRED (Demand Response Enabling Device) incorporates a range of controls for various aA demonstrator system is being built for prototyping the OpenAD system using accessible hardware.ppliance types, and the list of included appliances is expected to grow.

OpenADR protocols form the communication link beween the power retailer and the DRED enabled appliances, via a consumer smart power controller. This project aims at investigating XMPP as the communication layer between the power retailer and the controller which then implements the control via DRED relay switching and hardware controls.

Technology being used: RaspberryPi, Linux, Raspbian, Ubuntu Snappy Core, XMPP client, ejabberd. ansible.

References:
[1] http://www.opwnadr.org
[2] Tesla Powerwall – http://www.teslamotors.com/en_AU/powerwall
[3] AS4755 – Demand Response for Air Conditioners
My Anderson Powerpole Connector crisis is over..

After forking out $5 for a single set of Anderson Powerpole Connectors from Jaycar I thought that I would bite the bullet and purchase enough from the US supplier so I wouldn’t have to worry about this any more.

The above photo shows the connectors in groups of ten, so I could easily count them. I purchased 100 sets from Powerwerx at $0.87 each including shipping, just in time for the Amateur Radio John Moyle Field day.

Box for Huxley Reprap

I have been involved in constructing a couple of Huxley Repraps, purchased from RepRapPro as kits. One is for myself and the other is one for the Adelaide HackerSpace. (The plastic parts distributed in the kits were created on other RepRaps.)

In order to be able to design things to print I am going to have to get my head around using CAD. FreeCAD looks like it will do most of the things that I need a CAD program to do, so I have spent a some time learning how to use it by drawing up a box that can be used to store, carry and display the finished Huxleys.

It is a 32cm cube, to be made out of 9mm MDF, with rebated joints (glue and nail).

The Huxley will be bolted to the base with the box fitting over the top, similar to a sewing machine case I once saw. A method for keeping the base attached to the box has yet to be sorted out, although a sash-clamp/tie-down appears to be the easiest solution.

The inside dimensions are 302x302x302 where the Huxley (according to my measurements) is 295mm high.  Everything should fit… but I need to measure the other dimensions and adjust accordingly… 320mm was a nice initial number to work with.

I haven’t figured out a way to make the circular cuts with the CAD program, so the handle slots are all square.


Update: The box ended up being 360mm square.


Powering the OLPC XO-1

Another device that I thought would be worth trying out with the generator is the laptop from the One Person Per Laptop project, the XO-1.

I have been fortunate and have acquired two of these XO-1’s (sparky and sparks). Both of them were pre-release versions and have been superseded in various ways, but they still attach attention when brought out on display. Kid’s just love them.

Both XO’s were able to be run via the inverter from their charge packs. (One of them has an issue with it’s battery taking a charge, which is why it is off in the photo.)

When I get some more Anderson connectors I’ll look at how they go when connected directly to the 12v-14v supply.

First Power Generation Application

I didn’t have any luck finding my 240V inverter, but I was able to borrow one from a friend (in exchange for fitting it with an Anderson Powerpole connector.)

So, you have a peddle powered generator.. what’s the first application or device that can be tested with his new power source? Being Australian and and an Amateur Radio operator, the first device had to be a radio. (For overseas readers, Australia has a proud history of peddle powered radios, which together with the Flying Doctor service, brought emergency healthcare to the centre of Australia.)

The second application was therefor a peddle powered television.

The small television did not have a rating listed on it anywhere, but after peddling for 30 minues or so, while catching up on the evening news, I would say that it is about 25 or 30W. It is uncertain what the efficiency of the inverter is at this stage.

I see this setup quickly becoming a core part of my exercise program.

Anderson Powerpole Connectors

With my increasing number of 12V appliances, thoughts quickly turned to what would be an appropriate standard power connector. In the past, these appliances have had a huge range of different sized cylindrical or barrel plugs with different polarities, typically powered by a 240V plug pack.

One DC power connector which has gained some prominence is the ‘Powerpole’ or ‘Anderson’ connectors. These connectors have been chosen as the standard DC power connector for Amateur Radio operations, particularly where emergency and disaster relief operations are in mind. (eg. with WICEN)
These connectors have a couple of unique features. The most obvious is their shape.The ‘plug’ and ‘socket’ ends are identical (and symmetric) and can be used as either end of a connection. The blade contacts themselves are self cleaning, in that the motion of connection and disconnection allows the terminals to scrape any foreign material from the electrical connection area.
For those mathematically astute people, the connectors are symmetric under a rotation group. (Look out for further discussion of this in another blog post.)
The connectors come in several different ratings, but for the most common sizes for which I’m interested (15amp, 30amp and 45amp), they share the same plug enclosure, but take different sizes/gauge of wire.

There was some research required to relate the US wire specification (maximum current and gauge) with the Australian ratings (maximum current and cable cross section.) Bunnings sells cable for outdoor lighting, which had a cross section of 3.3mm^2, which corresponds to 12 gauge wire, the size that is rated for 30amps. This cable is twin core and all black, not the pretty red and black ‘zip cord’ that is available from the Anderson Connector distributor, but I can’t see any reason why it wouldn’t work.
For more information on Anderson Connections see the Powerwerx website (a distributor).